by Odette Design
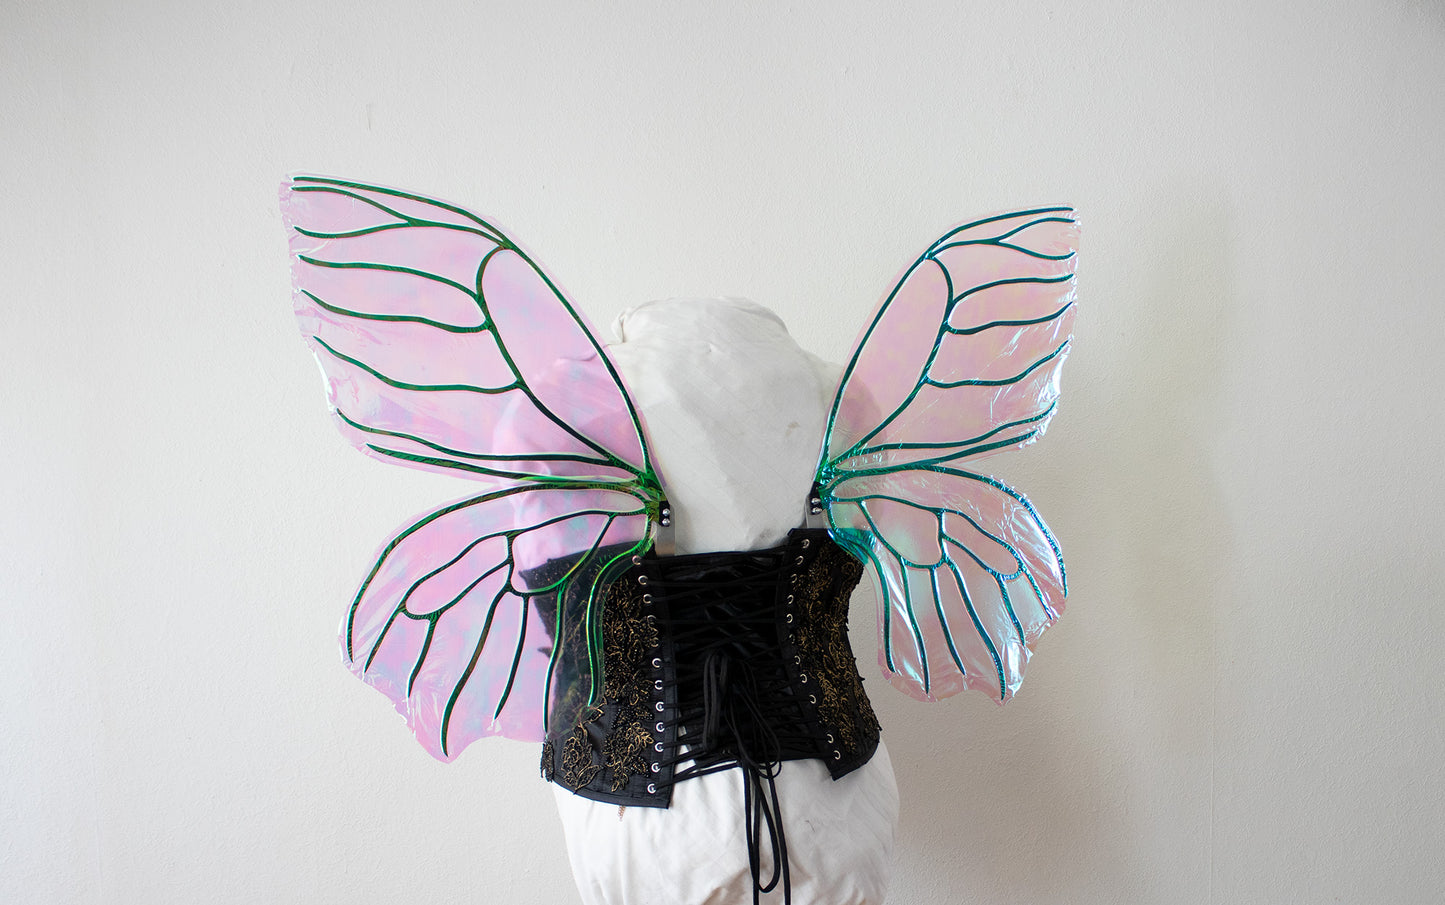
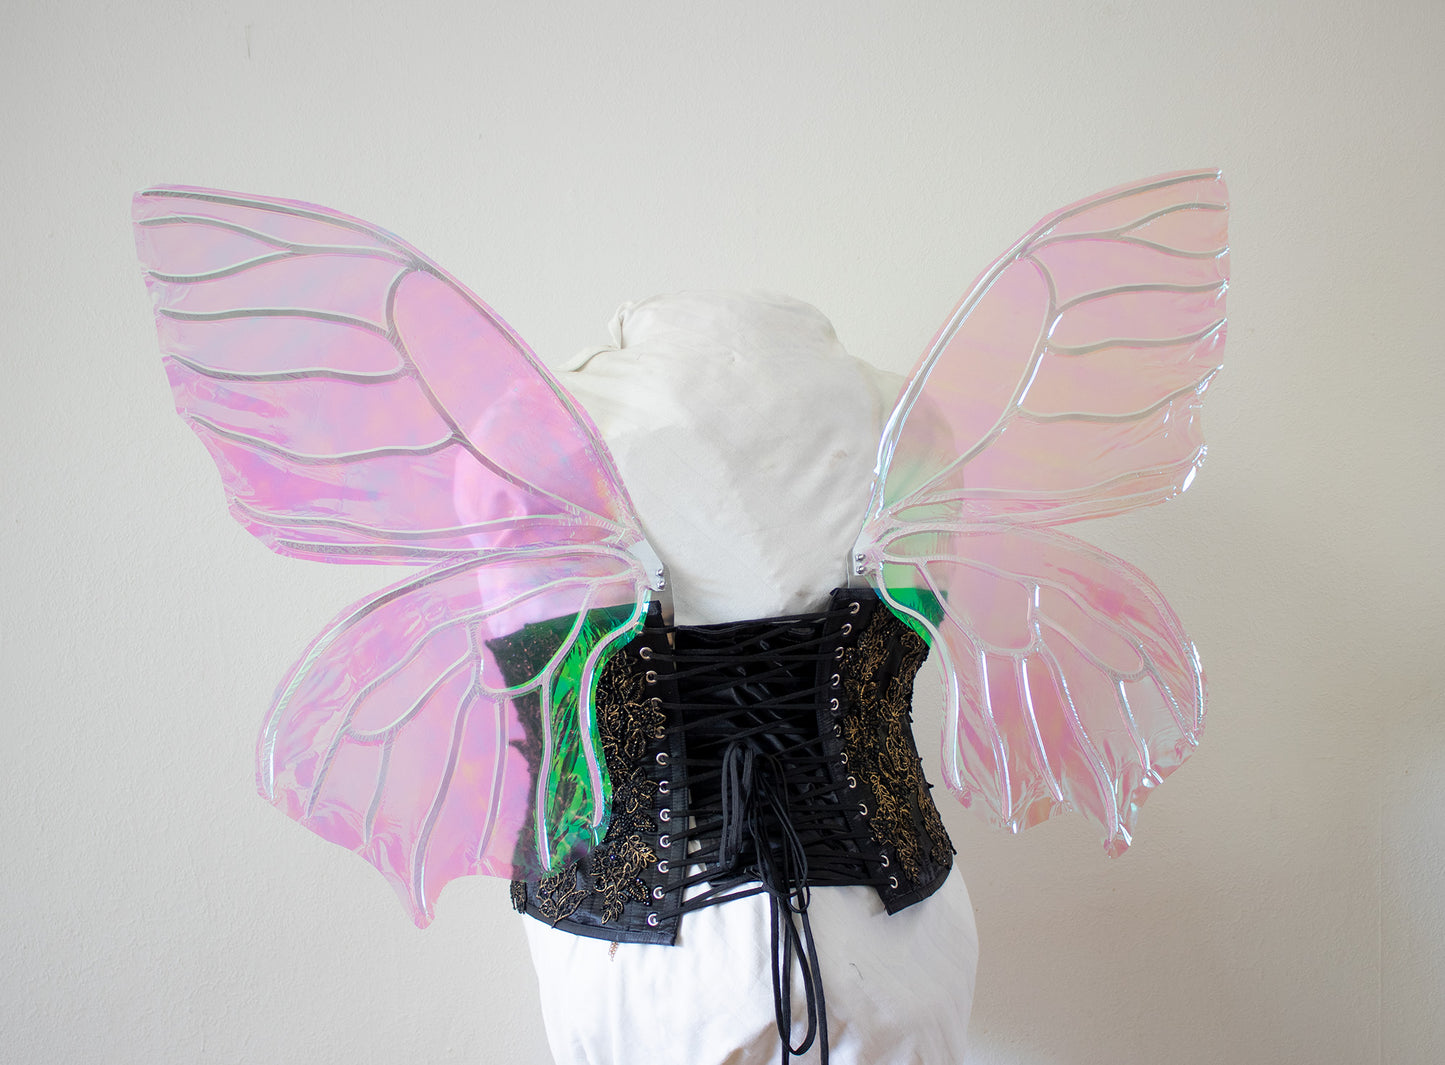
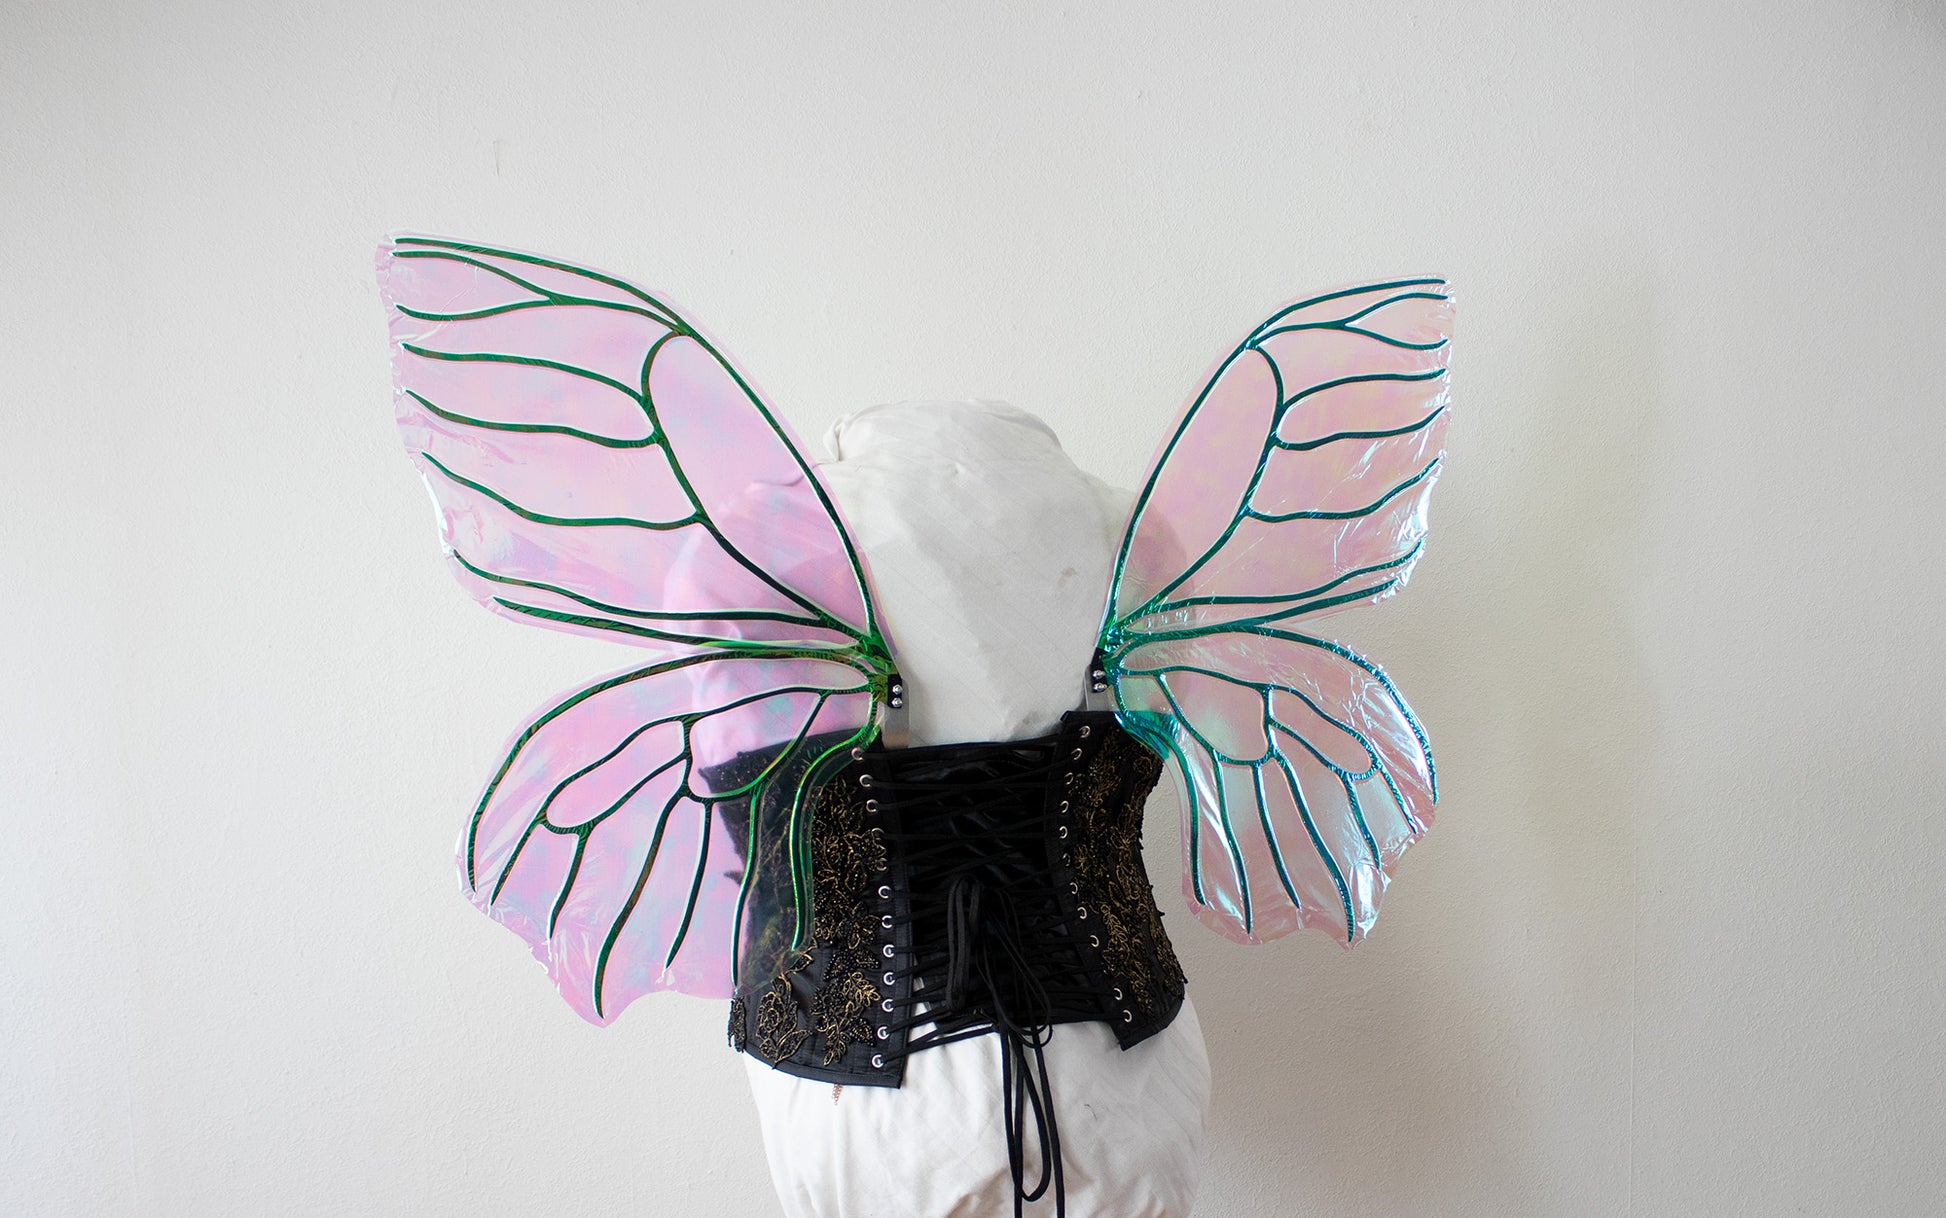
Blossom DIY Wings Kit for Fairies and Elves - Complete Your Magical Fantasy Costume | by Odette Design
Blossom DIY Wings Kit for Fairies and Elves - Complete Your Magical Fantasy Costume | by Odette Design
Couldn't load pickup availability
With the DIY wings package you will receive all the parts to make your own wings. The package consists of: the aluminum frame of the wings, the u-shape, sandpaper, screws and nuts, vinyl and the foil.
How do you make the wings?
What do you need?
- Your DIY package
- Spray paint
- Phillips screwdriver
- Pinch Pliers
- Hot air gun and/or iron
- Oven mitts
- Tea towel
Step 1, clear a large surface (for example the dining table) and make it dust-free.
Step 2, lightly sand the wings and sand off the sharp edges. After this you can clean the wings with alcohol or another degreaser and let them air dry.
Step 3, now that the wings are sanded and degreased you can paint them in the color you like. I always do this with a spray can, I find that this works best.
Step 4, when step 3 is dry, you can start making the wings. Look carefully which piece of vinyl and foil fits well with which wing.
Step 5, place 1 piece of vinyl (pay attention, the vinyl can have different sizes so really check if the wing fits) on the table and remove the white checked pattern and make sure that the adhesive side does not touch the table and is therefore towards the ceiling.
Step 6, place 1 wing on the sticker and press it firmly
Step 7, place the foil tightly over it and press well. Lines and bubbles can always appear, you make it with your hands after all.
Step 8, set the hot air gun to around 150 - 200 degrees and heat the wing piece by piece from the inside out with the hot air gun. When you have heated a piece, smooth it out with your oven mitts on, so that the bubbles and wrinkles come out as much as possible. Here too, you make it with your hands so there can always be a small wrinkle or bubble in it.
Step 9, place the tea towel over the wing and press the wing firmly with the iron.
Step 10, cut the foil into the shape of the wing where necessary.
Repeat steps 1 through 10 until you have made all the wings.
Step 11, assemble your wings on the U-shape with the supplied screws and nuts and you're done!
Share


